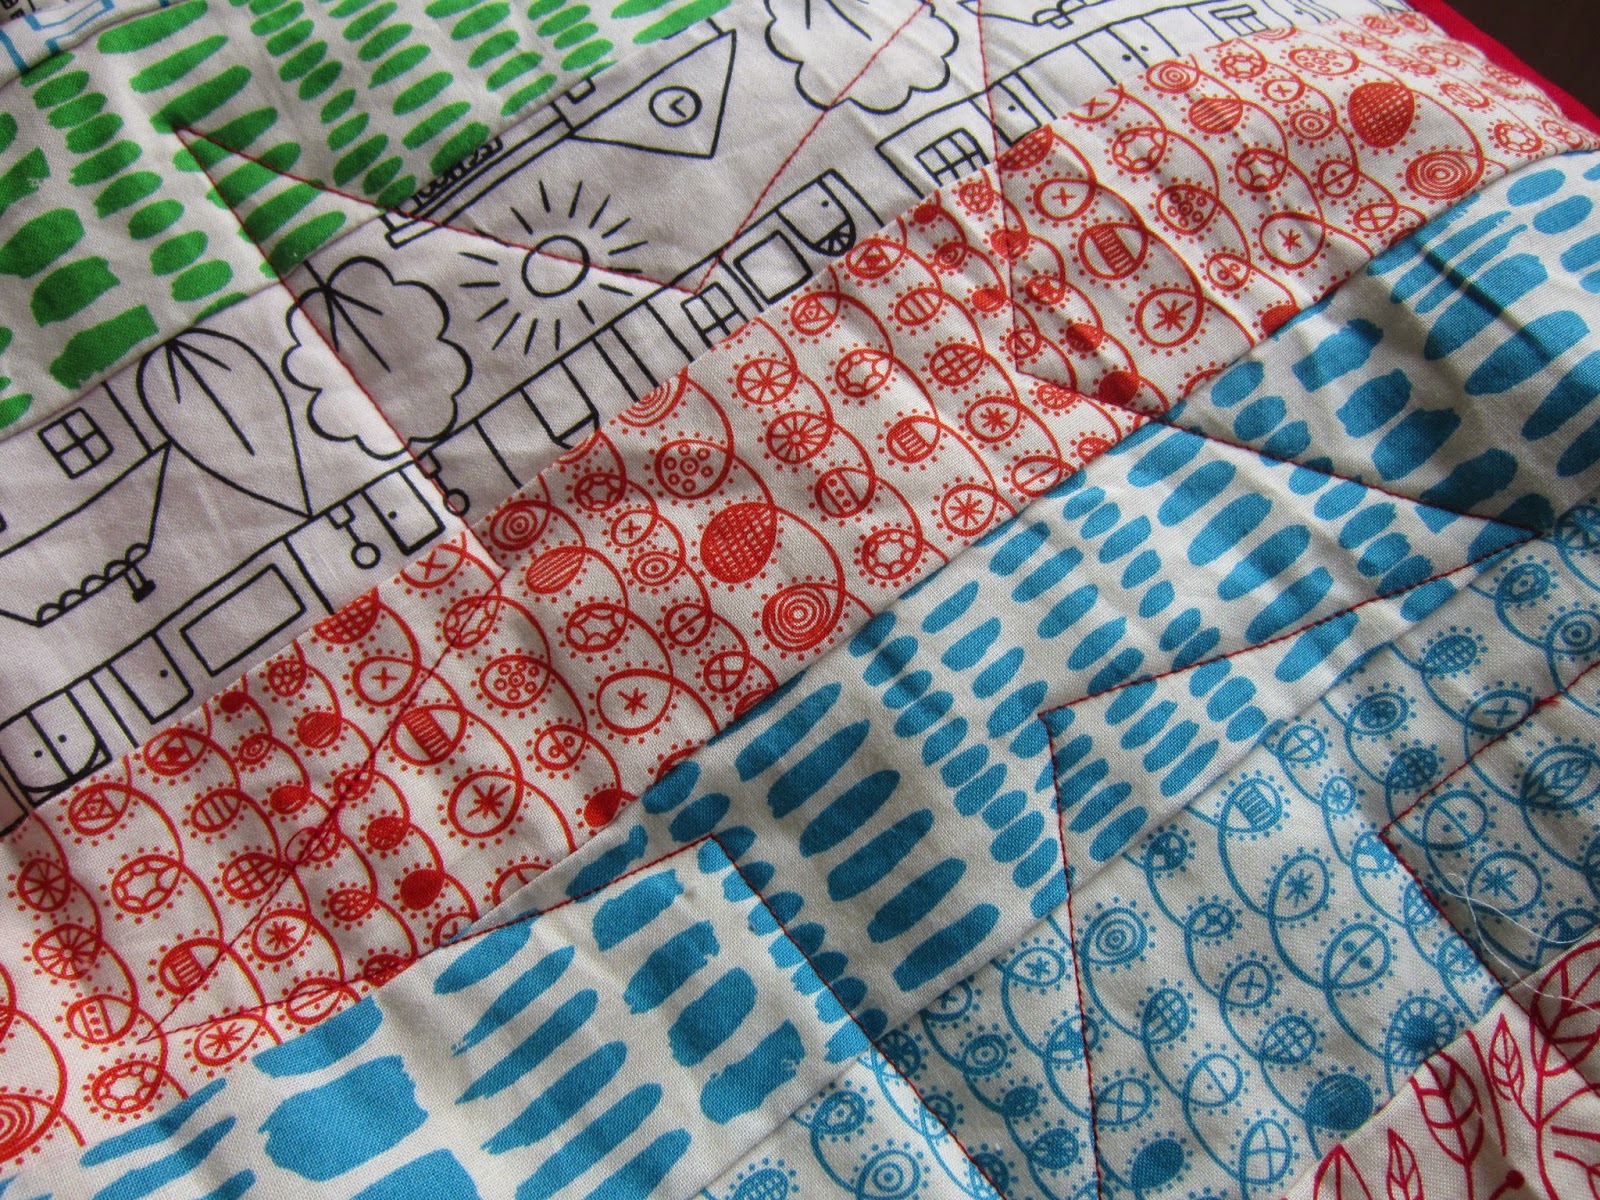
I bought it partly because my Teenage Daughter likes Summersville and partly because I'd never used a jelly roll before.
It sat for a while until I decided what to do with it.
Finally I decided upon a 1600 quilt after finding plenty on Pinterest. For this quilt you simply join all the strips in one looooong length and then cut 18-20inches off one end to stagger the joins, fold in half and sew raw edges together, fold again and sew the length and keep going like this until you have the size of quilt required.
I chose to pop a red square between each strip as they are sewn in the first long length.......
And I don't have a pieced top to show you as I got too excited and just kept pushing on!!!
For my backing I decided to use IKEA Britten Nummer fabric......
It's lovely and wide to start with, so no joins. The background colour is also similar to the organic cotton batting I found in my stash during my January declutter! Now there's a stroke of good planning *wink, wink*.
It wasn't until I had pinned the top, batting and backing together that I decided to to stitch just inside and outside each red square, a sort of stitch in the ditch I think. It looks like this......
My daughter loves stars, so my other thought was to quilt a star shape in the spaces.......
Finally my binding is a bias binding made, from the same red fabric I used for the squares and my new Clove Bias Binding Maker. Here it is made and ready to be applied.......
I made a label after being inspired by this post about using using cotton and freezer paper and popping it through an inkjet printer. I chose a free border image from the internet and used Word 2003 with a text box to write inside it. This is how the label looks,........
Then it was onto the binding. I machined it onto the front of the quilt, right sides together and then turned to the back and hand stitched it in place with tiny stitches...look....
Purely by accident I found a great way to hold the binding in place.......
Little Lady's hair slide that was staring at me from the coffee table....suddenly the light bulb came on and there we are!
So the final quilt is all finished and was given to her today for her 16th birthday, here's a snap of Teenage Daughter and Little Lady snuggling straight after it was opened.......
So all that is left for me to say is HAPPY BIRTHDAY MY BEAUTIFUL BELLE!!!
I'll be back very soon.
Until then, toodle-oooo,
Nora
xxxx


It's such a lovely quilt, I bet your daughter loves it! I'm making several quilts this year so I was pleased to read about the label. It's a great idea, thank you x
ReplyDeleteWow Nora that quilt is beautiful! so pretty. Happy Birthday Belle!
ReplyDelete