Polish in hand I cleared the decks and the dust! Oh! It was shameful!
The plus side was that I found a tissue holder my daughter had started but not got to the end of, a cut out and pinned rice bag, the t-shirt and material to make another one of these for my God-Daughter (aka Tiny Angel)......
AND finally (not started at all) the old tie-backs for the newly decorated Tiny Angel bedroom which I shall use as the templates for new ones made from the remains of the sheet left over from the bunting (also completed the other night!)
I started by using the old tiebacks to draw around, I drew closed to the edge so that when I cut I added extra for the seam allowance, I could also have drawn it with a seam allowance, either way works.

I then cut out my template.........
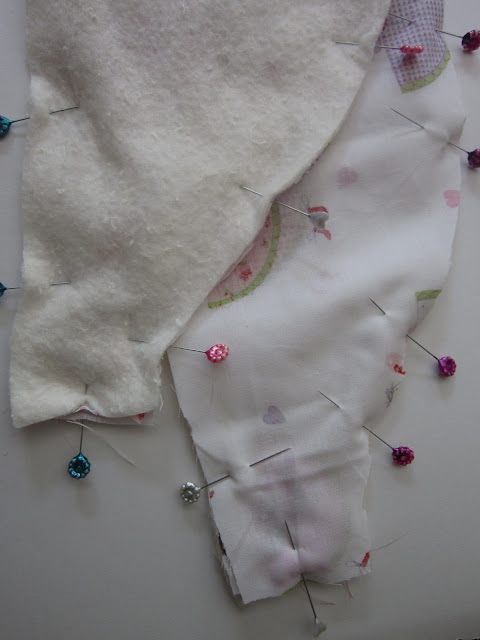
....laid it on the fabric, pinned it and cut! I did the same with some wadding to add a bit of umpf to the thin fabric. So that's 4 cut in main fabric and 2 in wadding.

I then took the remaining bias binding left over from the bunting and cut 4, 12cm lengths......
which I folded in half and stitched like this....
(sorry it's sideways...couldn't get the wotsit to twist it round for you! But you get it...right?)
Here we are..........
I laid the binding loops on the correct side of the fabric each end of 2 of the main fabric pieces, pinned them and sewed across the ends just to hold them in place.
THEN, lay down the wadding, on top of that a piece of the fabric correct way up and one correct side down, make sure that just one of those has the binding loops.
Pin and sew all round except for a section about 10cm long (for turning). You might want to go back and forth to reinforce the stitching either side of the opening.
Iron the fabric side and iron back the opening so the when it is turned the right side round it will be easier to sew the opening closed. Turn the correct way round and use something blunt to push the corners out, iron again. Sew the opening closed with small slip stitches. Repeat with the other pieces and there are your 2 tiebacks.
I managed to place my templates so that the fairies were flying across the tie-backs and also so the my slip stitches, although neat, were placed on the section which will be behind the curtains.
So want to see? OK then....
TA-dahh.........!
I hope Tiny Angel and her Mummy like them...I'm hoping they'll send me a photo of them so that I can share with you, until then...see ya!
Love
Nora
xxxx


No comments:
Post a Comment
Thanks for dropping by, please don't leave without commenting as it's nice to know you were here x