Saturday 21 February 2015

Saturday Project

For quite some time now, my Saturday has been breakfast in bed courtesy of The Hubs followed by a lovely relaxing bath and all cooking on a Saturday by The Hubs!  So fortunate.

(I don't escape as I get to do it all Sunday so that The Hubs gets a rest-y day too...love him.)

Today is different as he and Little Lady went to stay with his parents on Thursday and return tomorrow, so no breakfast by The Hubs and the rest of the day was falling by the wayside too.

I had decided to have a relaxing day, but I haven't felt too bright so it was rather an enforced rest.

BUT...you know what it's like.....bit boring.....mind is racing......you get restless....

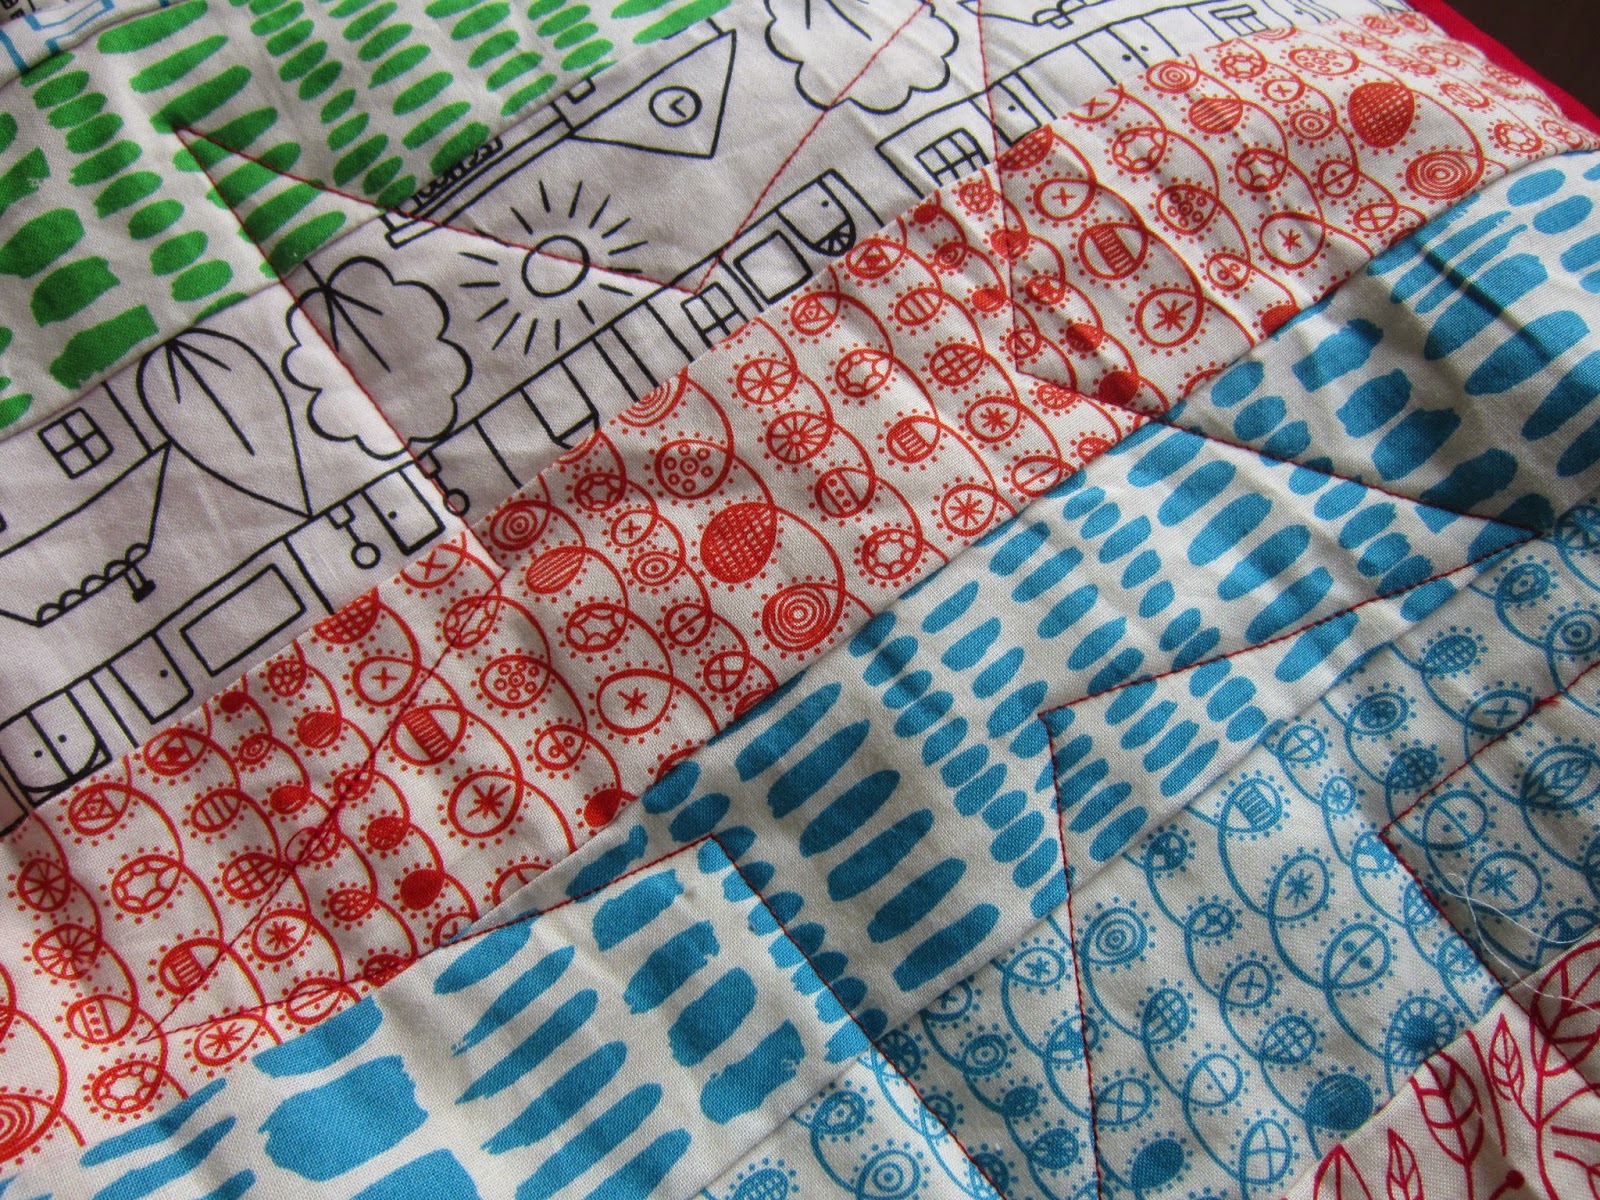
So out came the brushed cotton fabric from this post, and the Simplicity 9871 pattern from the same post and off I went.

I've not made anything like this before and thought it would be a good practice of basic bottoms before I embark on my longed for Sailor Pants!

I did mix the waistline marking with the placement of a buttonhole for the waistband cord and the space to leave the gap for the elastic, but I realised what was what (not clearly marked on the pattern!) and saved myself from total disaster!

So there is no tutorial or anything much to say that hasn't already been said, so all that is left for me to do is.........drum roll please.......

....say TA-DAHHHH!


So it'll be a nice hot bath tonight and my lovely new, comfy pyjama bottoms...woohoo!

This is my February contribution to Make Me A Wardrobe 2015 so I'm off to share on My Make Do and Mend Year and catch up with Jen's world.

Until the next time, take care,
Nora
xxxx

Thursday 19 February 2015

Belle's Summersville Stars Quilt

Waaaaaaaay back sometime whenever,  I bought a Summersville Jelly Roll, I have no record of having blogged about it, so I'm not sure when that was!  BUT....I did find a photo of it with 2.5" red cut squares....look....


I bought it partly because my Teenage Daughter likes Summersville and partly because I'd never used a jelly roll before.

It sat for a while until I decided what to do with it.

Finally I decided upon a 1600 quilt after finding plenty on Pinterest.  For this quilt you simply join all the strips in one looooong length and then cut 18-20inches off one end to stagger the joins, fold in half and sew raw edges together, fold again and sew the length and keep going like this until you have the size of quilt required.

I chose to pop a red square between each strip as they are sewn in the first long length.......


And I don't have a pieced top to show you as I got too excited and just kept pushing on!!!

For my backing I decided to use IKEA Britten Nummer fabric......


It's lovely and wide to start with, so no joins.  The background colour is also similar to the organic cotton batting I found in my stash during my January declutter!  Now there's a stroke of good planning *wink, wink*.

It wasn't until I had pinned the top, batting and backing together that I decided to to stitch just inside and outside each red square, a sort of stitch in the ditch I think.  It looks like this......


My quilt didn't turn out as random as other 1600 quilts I've seen, but I'm using the empty space to my advantage.

My daughter loves stars, so my other thought was to quilt a star shape in the spaces.......


Finally my binding is a bias binding made, from the same red fabric I used for the squares and my new Clove Bias Binding Maker.  Here it is made and ready to be applied.......


I made a label after being inspired by this post about using using cotton and freezer paper and popping it through an inkjet printer.  I chose a free border image from the internet and used Word 2003 with a text box to write inside it.  This is how the label looks,........


Then it was onto the binding.  I machined it onto the front of the quilt, right sides together and then turned to the back and hand stitched it in place with tiny stitches...look....


Purely by accident I found a great way to hold the binding in place.......


Little Lady's hair slide that was staring at me from the coffee table....suddenly the light bulb came on and there we are!

So the final quilt is all finished and was given to her today for her 16th birthday, here's a snap of Teenage Daughter and Little Lady snuggling straight after it was opened.......


So all that is left for me to say is HAPPY BIRTHDAY MY BEAUTIFUL BELLE!!!

I'll be back very soon.

Until then, toodle-oooo,
Nora
xxxx

Wednesday 18 February 2015

Cushion Finish Up!

Back here during my bedroom declutter, I told you about some unfinished projects ........timeframe? Oh....about 10 years ago!!!

One of them was a shaggy cushion made on HUGE needles whilst watching my daughter's swimming lessons.

I decided to get a cushion pad and finish it off.

The cushion pad arrived together with its twin (for another project!), additional yarn for my Granny Poncho and some yarn to finish a round crochet cushion...only problem....the later is the wrong make of yarn!!

I took a look at my fluff and decided that as it couldn't be sewn I would use my mistaken purchase to crochet it closed.

Good thinking batman!


I made a round of double crochet (single crochet to my US friends) and once I'd gone round once I then began a shell edge.

The basic pattern for this (in UK terms) is to make 5 trebles into one stitch, miss a stitch and slip stitch into the next, miss a stitch and make 5 trebles into the next stitch ,miss a stitch, slipstitch into the next, miss a stitch, 5 trebles.....you see the pattern.  Then you simply continue the miss, slip stitch, miss, 5 trebles pattern along the straight edges.

I managed to somehow get the corners just right, you might have to miss 2 stitches or not miss any in order to get to the corner.  Once there the corners are 9 trebles to get 3/4 of a circle, like this.......


...then miss a stitch, slipstitch into the next, miss a stitch, 5 trebles into the next...yep, that pattern again!

So, once I'd finished the crochet and the 20 questions from teenage daughter about it's history, she remembered that this was the fluff I was knitting whilst chatting to her Grandpa (who has since, sadly, passed away).  So she requested to give the cushion a new home and it now has pride of place on her bed...under Grandpa's watchful eye in the photograph above.

A reminder of happy days.

Want to see the finished article?

Here goes......Ta-daaah!


So glad to have caught up with you on that one....I will be back soon with a quilt update (after Teenage Daughters Sweet 16 Birthday on Thursday!)

Until then,
take care
Nora
xxxx


Tuesday 17 February 2015

It arrived!

Sometimes in order to stash-bust or finish off your UFOs you just have to buy SOMEthing else!  So today my order arrived!

It contained.......

...some yarn for my Granny Poncho and a cushion that I hope to finish (but now I'm not so sure!!).......


......plus 2 cushion inserts to finish a fluffy find and for a sparkly re-purpose!


I think I'll be ready for one Ta-Dah moment tomorrow....woohoo!

See you very soon,
Love
Nora
xxxx


Sunday 8 February 2015

A HUGE binding project.......The Arsenal Quilt!

....and it's not even mine!

My Aunt has been busy knitting squares to keep her self occupied whilst she's been recovering.

Her daughter is an Arsenal football club fan, so the squares are red and white!

She has sewn them altogether, I can tell you it weighs a-L-ot.

The measurements are 130 inches by 85 inches.

I need to quilt and bind this so I've decided that as the only other colour in their logo is the golden yellow of the gun, that I will button quilt and bind in yellow.


I bought a bag of mixed yellow buttons from KosiKrafts on Amazon for £2.59 (including P&P!)


and some Canary Yellow fabric from Dolly's Craft Corner, also on Amazon for £3.18 per meter and free delivery!


I used the calculator on Quilters  Paradise which advised me that on the width and length measurements and using a 2.5 inch binding that I would need just under a yard of fabric, much less than I had imagined I would need for the binding.

It took me over 2 hours to lay out the vintage quilt my aunt gave me to back it and the yarn-y top and pin it to together.....


I'm tellin' you...it's H-U-G-E!

So I'm at the stage of sewing a button on to each cross where four knitted squares meet.


I'm simply using red and white Stylecraft Special Double Knit which is currently available at Wool Warehouse for £1.69 per ball with free delivery on orders over £25 and if you have this months Simply Crochet Magazine Issue 28, you'd get a 10% discount on that too!

All I'm doing is sewing through the button and all layers, back up through the button and tying the ends off to secure...not rocket science, but it looks effective.

So far I've done all but 40 buttons by sitting in the evenings watching New Tricks and securing about 20 buttons at a time!  2 more episodes to go and I shall be on to the binding!

I have to say I am looking forward to hand finishing the binding more than machining it on and having to manoeuvre the vast weight of blanket and quilt around my machine!

But that's for another day, today I shall concentrate my efforts on BUTTONS!

I'll be back soon with another update on something...not sure what yet!  So much on the go.....

Until then, see ya
Love
Nora
xxxx

P.S. The buttons are on!  So it's soon to be binding time.

Tuesday 3 February 2015

If you're not a blogger.....

....but you like sewing, knitting, crochet, baking and a tad of madness...

you can catch up with me HERE.


It's my facebook page where I link all my posts from the blog, so if you are going a long way round to get here but are a Facebook-er...just like the page and the posts from here will pop up over there!

If you are a Blogger and have a Facebook page, please feel free to pop yourself on the comments so that all the lovely non-blogger peeps out there can find you!

Happy reading and blogging!

Love
Nora
xxxx